Aug 15, 2026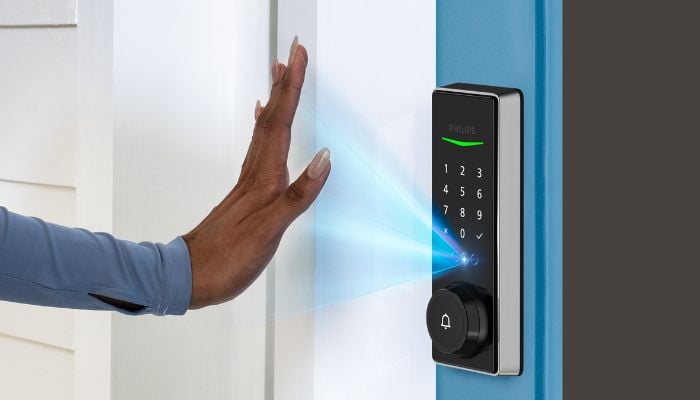
Smart door locks are becoming a popular home-security upgrade, offering homeowners a convenient alternative to traditional keys.
From PIN codes and fingerprint recognition to smartphone apps and remote access, modern locks can make everyday entry easier while adding useful security features.
That said, installing a smart door lock correctly is important for reliable operation. Fortunately, most locks designed for standard residential doors can be installed with basic tools.
Gadinsider has brought a step-by-step guide to help you replace a traditional lock and get your new smart lock ready to use.
Before starting, check that your door is compatible with the smart lock. Most residential models support doors around 35mm to 50mm thick, although specifications vary by product.
- Screwdriver
- Tape measure and pencil
- Level
- Smart lock kit with latch, screws and batteries
- Smartphone with the manufacturer's app
- Power drill, if minor door modifications are required
How to install a smart door lock
Follow these below mentioned steps:
1. Remove the existing lock
Firstly, start by opening the door and removing the screws holding the existing deadbolt or door lock. Carefully detach both the interior and exterior sections.
If the existing latch is compatible with your new smart lock, you may be able to reuse it. Otherwise, replace it with the latch supplied in the smart lock package.
2. Prepare the door
Inspect the existing door holes and clean away any debris. Check the lock's installation template and verify that the mounting holes are correctly positioned.
If the new lock requires a slightly different opening, minor adjustments may be necessary.
3. Install the exterior unit
Position the smart lock's exterior keypad or faceplate on the outside of the door. Feed its connecting cable through the designated opening while aligning the mechanism with the latch.
Hold the unit in place and loosely install the mounting screws. Keeping them slightly loose at first makes final alignment easier.
4. Attach the interior assembly
Connect the exterior cable to the interior module according to the manufacturer's instructions. Secure the interior mounting plate with the supplied screws, then attach the battery compartment and thumb-turn mechanism.
5. Test the lock
Before configuring the smart features, manually lock and unlock the door several times. Check that the latch extends and retracts smoothly without resistance.
6. Connect the smart lock app
Download the manufacturer's smartphone app and create or sign into your account. Pair the lock using Bluetooth or Wi-Fi, depending on the model.
Once connected, check for firmware updates and complete the initial setup.
7. Set up access
Finally, create your administrator PIN, fingerprint, or digital key. Add trusted family members or guests and configure features such as auto-lock, temporary access codes, notifications, and remote access where supported.
With the installation and testing complete, your smart door lock should be ready for a smooth everyday use.