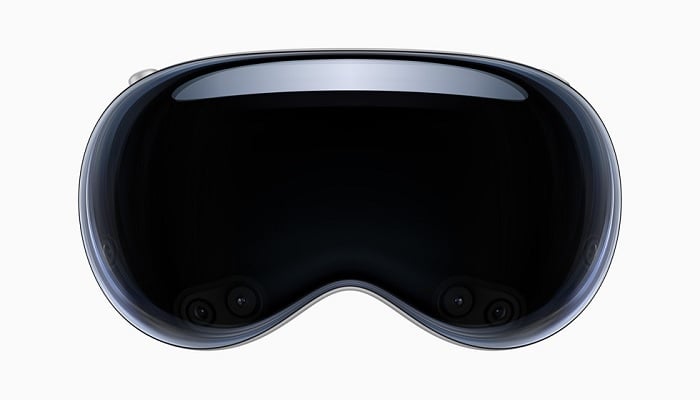
Experiencing the exhilarating features of Apple Vision Pro is something you'll likely want to share. However, capturing the essence of a VR environment for non-VR users is challenging, similar to attempting to demonstrate the vibrancy of colour TVs through a monochrome set.
Nonetheless, you can snap Vision Pro screenshots and record videos, although with some limitations. The process is straightforward, especially if you're familiar with an iPhone. The steps are similar to the Vision Pro.
For Vision Pro screenshots, you can either:
- Simultaneously press the Digital Crown and Top Button.
or - Command Siri by saying, “Siri, take a screenshot.”
Your screenshots will be saved in the Screenshots folder of your Photos library.
For more dynamic content, video recording is your go-to on the Vision Pro, requiring slightly more effort but remaining user-friendly.
To record a video:
- Access the Control Center by looking at the upper part of your view and selecting the small button.
- Choose the control buttons, resembling two horizontal switches.
- Hit the view record button. If it's not visible, add it via Settings > Control Center.
- To cease recording, either click the red status bar at your view's top or hit the record button again and select Stop.
As of visionOS 1.1, be aware that screenshots and recordings are limited to 1920×1080 resolution. This constraint means they appear lower in resolution compared to the headset's internal view. Hopefully, future updates might enhance capture resolution, as developers currently have access to higher-quality tools.
Remember, some videos in Vision Pro with content protection might display a black screen during recording, and private information like passwords or passcodes will be obscured in recordings.


