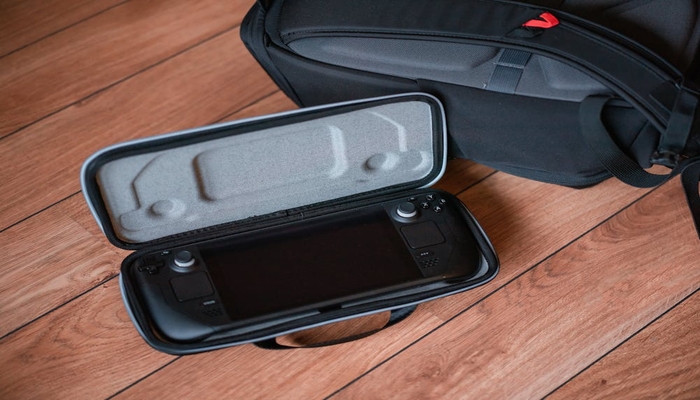
An undated image of Steam Deck. — Pexels
The Steam Deck is a versatile handheld gaming device, but it can also serve as a portable web browsing tool.
If you too were eagerly in pursuit of a method to do so, Gadinsider is here with a step-by-step guide on how to install and use Google Chrome on your Steam Deck.
Use Google Chrome on Steam Deck
- Power On the Steam Deck: Hold down the power button until the system menu appears.
- Select "Switch to Desktop": This will take you to the Steam Deck’s Linux-based desktop environment.
- Access the App Store: Click on the blue shopping bag icon in the taskbar to open the Discover Software Centre.
- Search for Google Chrome: Use the search bar at the top of the window to find Google Chrome.
- Select Google Chrome: Click on Google Chrome from the search results.
- Install the Browser: Click the "Install" button and wait for the installation process to complete.
- Open Steam in Desktop Mode: Launch the Steam application while still in desktop mode.
- Add Non-Steam Game: Go to the "Games" menu and select "Add a Non-Steam Game to My Library."
- Find Chrome: Browse the list of applications and select Google Chrome.
- Add Selected Programs: Click "Add Selected Programs" to add Chrome to your Steam library.
- Navigate to Library: Go to your Steam Library and find Google Chrome under "Non-Steam Games."
- Set Compatibility Mode: Right-click Chrome, select "Properties," then enable "Force the use of a specific Steam Play compatibility tool."
- Choose Proton: Select the latest Proton version from the drop-down menu.
- Return to Gaming Mode: Exit desktop mode by clicking on the "Return to Gaming Mode" icon on the desktop.
- Open Google Chrome: In the Steam Library, go to "Non-Steam Games" and launch Google Chrome.
Now you can enjoy browsing the web using Google Chrome on your Steam Deck in both desktop and gaming modes. This flexibility allows you to switch between gaming and web browsing effortlessly.


